Is your Onn Roku TV afflicted by a disconcerting dilemma, where its screen plunges into inky darkness or persistently flits with erratic flickers? A perplexing scenario unfolds for some, where the screen succumbs to obscurity, shunning any auditory accompaniment. Yet, for others, an unsettling discord reigns as the sound resonates, while the visual canvas remains desolate.
The Onn TV awakens from its slumber, yet it embraces a disconcerting void, bereft of both its visual and auditory faculties.
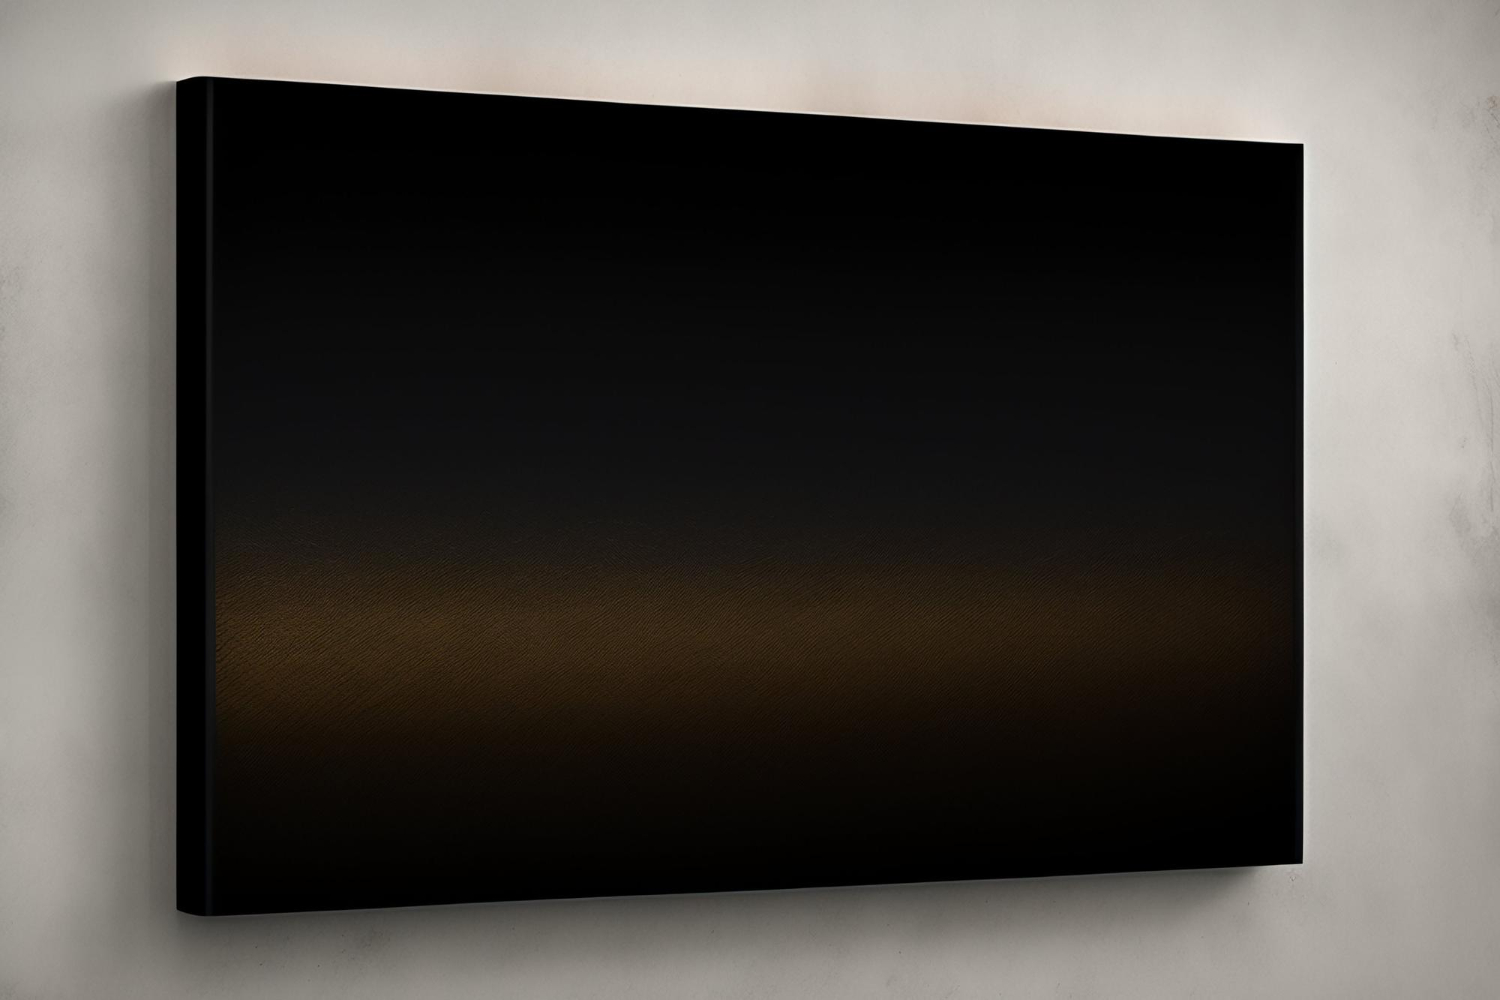
Whichever quandary befalls you, the phenomenon of the Onn Roku TV black screen casts its pervasive shadow across the globe’s user base. Abruptly, the screen veers into the abyss, at times shrouding itself in silence, and at others, retaining its auditory presence.
Given that the television screen constitutes the most financially substantial aspect of a smart TV, many are seized by panic and trepidation.
Within this discourse, you shall be enlightened as to the underlying causes behind the enigmatic Onn Roku TV black screen, with or without its auditory counterpart, and be furnished with expeditious remedies that you can readily implement within the confines of your abode.
Reviving Your Onn Roku TV: Banishing the Black Screen Woes
Is your Onn Roku TV plunged into darkness, leaving you bewildered and craving a solution? Fear not! This guide will illuminate the path to banish the black screen glitch that has cast a shadow over your entertainment. From understanding the causes behind this enigma to performing a power cycle, we’ve got you covered with comprehensive insights and tips to swiftly get your TV back to life.
Unlocking the Mystery: Why Does the Black Screen Loom?
Before diving into the solutions, let’s unravel the mystery of why your Onn Roku TV’s screen may go black. It’s a conundrum with several potential culprits, ranging from minor software glitches to more ominous hardware issues involving the TV display panel. Here’s a glimpse of the possible suspects:
- Software Glitches: Sometimes, a simple hiccup in the software can lead to the dreaded black screen;
- Display Panel Woes: In more complex scenarios, a faulty display panel may be the root cause of your TV’s troubles.
Now, let’s move on to the action plan and explore how to resolve these issues.
Power Cycling Onn Roku TV
Power cycling, also known as a soft reset, should be your first line of defense when your Onn Roku TV finds itself ensnared by a black screen, with or without sound. This technique is hailed as a panacea for a myriad of Onn TV issues and holds several advantages:
- No Data Loss: Rest assured that power cycling your Onn Roku TV won’t result in any loss of data, and you won’t be logged out from Roku;
- Universal Solution: Whether you’re grappling with a pitch-black screen or a pesky screen flicker, power cycling can often work wonders.
Now, let’s walk through the steps to master the art of power cycling:
Step 1: Disconnect the Power
Start by unplugging your Onn Roku TV from the wall outlet. This will completely cut off its power supply.
Step 2: Hold the Power Button
Hold down the power button on the TV itself for a duration of 30 to 45 seconds. This action helps drain any residual power lingering within the TV.
Step 3: A Moment’s Pause
After releasing the power button, wait patiently for a few more seconds. This brief intermission allows the TV to reset itself internally.
Step 4: Restore the Power
Now, plug your Onn Roku TV back into the wall outlet.
Step 5: Ignite the Screen
Finally, turn the TV on. With a bit of luck and the magic of power cycling, the black screen issue on your Onn Roku TV should be a distant memory.
Ensuring Your TV Powers On: Troubleshooting Tips
Is your TV refusing to come to life? Before you dive into the realms of complex problem-solving, let’s start with the basics: the power cord and wall outlet. These two seemingly simple components play a critical role in your television’s functionality.
Check the Power Cord
The power cord is the lifeline of your TV. If it’s not properly connected or if it’s damaged, your TV will stay dark and silent. Follow these steps to ensure your power cord is doing its job:
- Unplug and Reconnect: First, unplug the power cord from both the TV and the wall outlet. Sometimes, simply reestablishing the connection can work wonders. Apply firm pressure to ensure a snug fit into the power port;
- Change Wall Outlet: If your TV remains unresponsive, the next step is to experiment with different wall outlets. Sometimes, a faulty outlet can be the culprit. Try plugging the power cord into a different outlet and see if the TV springs to life;
- Bypass Extension Cords: If you’re using an extension cord, consider skipping it temporarily. Directly connecting the power cord to a wall outlet can help identify whether the extension cord is the source of the issue;
- Clean the Power Port: Dust and dirt can accumulate in the TV’s power port, hindering the connection. Use a lint-free cloth and a toothpick to carefully clean the power port. Once it’s spotless, plug in the power cord again.
Investigate the HDMI Cable and Port
If your TV is powered up but displaying a frustratingly blank screen, your HDMI cable might be the culprit. Here’s what to do:
- Proper Connection: Verify that the HDMI cable connecting your Onn smart TV to a Roku device is securely plugged in. A loose connection can lead to no signal;
- Check for Cable Damage: Examine the HDMI cable closely. If you notice any bends, breaks, or frayed sections, it’s time to replace it. A damaged cable won’t deliver a stable signal;
- Test Different HDMI Ports: Sometimes, the HDMI port on your TV can malfunction. To rule out this possibility, unplug the HDMI cable from its current port and try a different one. Most Onn Roku TVs offer multiple HDMI ports for your convenience;
- Select the Right Input Source: Last but not least, make sure you’ve selected the correct input source on your TV. Modern TVs often have multiple input options (HDMI1, HDMI2, AV, etc.). Ensure you’ve chosen the one that corresponds to your connected device.
Revive Your Roku TV: A Comprehensive Guide to Clearing the Cache
Clearing the cache on your Roku TV can address several common issues, such as freezing, buffering problems, and unexpected glitches. Here’s why you should consider it:
- Improved Performance: A cluttered cache can slow down your Roku TV’s performance. Clearing it can help restore smooth operation;
- Resolve Screen Issues: If your screen is going black or flickering continuously, a cache clear might be the solution;
- Enhanced Reliability: By periodically clearing the cache, you can ensure your Roku TV remains reliable and responsive.
Steps to Clear Roku TV Cache
Follow these simple steps to clear the cache on your Roku TV, even if the screen doesn’t initially respond:
- Prepare Your Remote: Ensure you have your Roku TV remote ready;
- Button Sequence: Press the following buttons in sequence:
- Home Button: Locate the Home button on the top right corner of your remote and press it five times;
- Up Arrow: Press the Up arrow navigation button once;
- Rewind Button: Next, press the Rewind button, located to the left of the play/pause button, twice;
- Fast Forward Button: Finally, press the Fast Forward button, situated to the right of the play/pause button, twice.
- Wait Patiently: Once you’ve pressed all the buttons in the correct sequence, Roku will initiate the cache-clearing process. Don’t worry if your TV doesn’t respond during this time; it’s completely normal;
- Reboot and Enjoy: After a few seconds, your Roku TV will turn on, and you’ll notice a significant improvement in its performance. It’s now ready to provide you with a seamless viewing experience.
Additional Tips and Insights
- Regular Maintenance: Consider clearing your Roku TV cache periodically to prevent performance issues from building up over time. A quarterly cache clear is a good rule of thumb;
- Internet Connection: Sometimes, slow internet speeds can also lead to streaming issues. Ensure your Wi-Fi connection is robust for uninterrupted streaming;
- App Updates: Keep your Roku apps updated to benefit from the latest features and bug fixes. Outdated apps can sometimes lead to problems;
- Factory Reset as a Last Resort: If you’re still encountering issues after clearing the cache and trying other troubleshooting steps, you might consider a factory reset. However, remember that this will erase all your settings and data, so use it as a last resort.
Replacing Batteries in Your Roku TV Remote for a Seamless Viewing Experience
Is your Roku TV remote failing to respond to your commands? The culprit might just be a tired battery. When it comes to your entertainment, it’s important to keep things running smoothly. Here’s a step-by-step guide on how to change the batteries in your Roku TV remote, ensuring you never miss a moment of your favorite shows.
Step 1: Acquire Compatible Batteries
Before diving into the battery replacement process, ensure you have two AAA batteries that are compatible with your Roku remote. Using the right batteries is essential for optimal performance.
Step 2: Access the Battery Compartment
Flip your Roku remote over, and you’ll notice a back panel. Slide this panel open to reveal the battery compartment. This panel is designed for easy access, so there’s no need for tools or complicated maneuvers.
Step 3: Remove Old Batteries
Gently remove the old batteries from their slots in the battery compartment. Take care not to damage the interior of the remote during this step.
Step 4: Insert New Batteries
Now, insert the fresh AAA batteries into their designated slots. Give each battery a firm press to ensure they lock securely in place. Properly seated batteries are essential for a reliable connection.
Step 5: Close the Battery Compartment
With the new batteries in place, close the black panel securely. Ensure it clicks into position, indicating that it’s properly closed.
Step 6: Test Your Remote
Once you’ve completed the battery replacement process, it’s time to test your Roku remote. Point it at your Onn Roku TV and press any button to check if it turns on. If it works, you’re good to go! If not, let’s explore some further troubleshooting steps.
Resetting Your Roku Remote for a Fresh Start
If changing the batteries didn’t resolve the issue, the next step is to reset your Roku remote. Resetting can often clear any glitches or issues that may have occurred.
Step 1: Remove the Batteries
Start by removing the batteries from your Roku remote. This step is essential for a complete reset.
Step 2: Long Press on the Power Button
Press and hold the power button on your remote for approximately 30 to 45 seconds. This extended press is crucial for resetting the remote.
Step 3: Reinsert the Batteries
Once you’ve held the power button, reinsert the batteries into your remote. Make sure they are correctly oriented.
Step 4: Test Your Remote
Now, test your Roku remote again. It should respond to your commands and turn on your Onn Roku TV. If it’s still not working, there may be another issue to address.
Unsticking Buttons for Smooth Operation
Sometimes, a single stuck button can cause your entire Roku remote to malfunction. Here’s how to resolve this issue and ensure all your buttons are in working order.

Step 1: Identify Stuck Buttons
If you suspect a stuck button, carefully examine your Roku remote for any buttons that might be depressed or not popping back up.
Step 2: The Button Smashing Technique
To unstick the buttons, give your remote a few firm but gentle smacks. This will help dislodge any stuck buttons and bring them back to their normal position.
Step 3: Repeat as Necessary
You may need to repeat the button-smashing process a few times to ensure that all buttons are unstuck.
Step 4: Test Your Remote
Finally, try using your Roku remote to turn on your TV. With the buttons no longer stuck, it should work smoothly, restoring your control over your Onn Roku TV.
Comprehensive Guide on Updating the Onn Roku TV OS
1. The Importance of Keeping Your OS Updated:
An antiquated Onn Roku TV Operating System (OS) or versions plagued with bugs can result in numerous issues, notably the ominous black screen. For the optimal performance and user experience, it’s imperative to maintain an updated OS.
2. Frequency of Updates:
While the Onn Roku TV doesn’t necessitate daily updates, it’s prudent to check for software enhancements periodically. Whenever the manufacturer releases a fresh update, make it a habit to install it. This not only ensures the TV’s functionality but also access to the latest features and security patches.
3. Addressing Screen Anomalies:
Issues such as a black screen or unexpected screen flickers might be distressing. However, frequently, these are symptoms of an outdated firmware. Upgrading the Onn Roku TV’s firmware could be the solution to these vexing problems, restoring the TV to its optimal performance.
4. Step-by-Step Update Procedure:
- Initial Step: Begin by pressing the ‘Home’ button located on the TV’s remote control;
- Navigating the Menu: Once the main menu appears, find and select the ‘Settings’ option;
- Accessing System Settings: Inside the ‘Settings’, there will be an option labeled ‘System’. Selecting this will lead you to a more detailed set of choices;
- Locating System Update: Within the ‘System’ options, there’s a sub-category titled ‘System Update’. This is your gateway to checking and downloading new software versions;
- Searching for Updates: Inside ‘System Update’, there’s a ‘Check Now’ option. By selecting this, the TV will scan for available updates, ensuring you have the latest software;
- Installation: If a fresh update is identified, proceed with downloading and installing. Adhering to on-screen prompts will guide you through this.
5. Update Precautions:
- Multiple Restarts: It’s not uncommon for the TV to undergo several restarts throughout the update process. This is a standard aspect of the procedure, ensuring the new software is integrated seamlessly;
- Connectivity and Power: Before starting an update, ascertain that the Internet connection is robust and consistent. Additionally, it’s of utmost importance to avoid shutting down the TV during this process. Interruptions could result in incomplete installations or potential software corruption.
Troubleshooting an Onn Roku TV with Black Screen and Sound Issues
When experiencing a black screen with sound on an Onn Roku TV, it’s essential to identify the core of the issue. Here’s a comprehensive guide on addressing potential problems:
1. The Importance of Internet Connectivity
The Internet is the backbone of streaming services. When trying to access content and the Onn Roku TV screen turns black, it’s possible that a slow Internet connection or a connectivity issue is the culprit.
Identifying the Issue:
If the Onn Roku TV displays everything except streaming content, then the problem likely lies within the network connection. To diagnose this:
- Use the Roku TV remote and press the Home button;
- Navigate to ‘Settings.’;
- Proceed to ‘Network.’;
- Click on ‘About.’ Within the ‘Network’ section, check the connection status;
- If it displays ‘Connected,’ the TV is successfully linked to the Internet;
- Examine the ‘Signal strength’ and ‘Internet download speed.’ Signal strength usually falls into three categories: poor, good, or excellent.
Determining Network Health:
If the signal strength reads as either good or excellent, the network is likely not the issue. However, a poor signal strength requires attention.
2. Addressing Poor Signal Strength
Checking the Connection:
- Opt for the ‘Check Connection’ choice within the network settings;
- Allow the system a few moments to run its diagnostic checks;
- Once completed, the results will indicate whether there’s an issue with the Internet connectivity.
Steps for Resolving Network Issues:
- Router Restart: One of the simplest solutions, often starting with a router reset can solve many connectivity issues. Detach the router’s power source, wait for about 30 seconds, then reconnect. Give it a few moments to re-establish its connections;
- Optimal Router Positioning: Weak signals can result from distance or obstructions between the router and the Onn Roku TV. Try positioning them closer together or ensuring a clear path to improve signal strength;
- Considering a Wired Connection: Sometimes, it’s the Wi-Fi causing disruptions. To eliminate this possibility, directly link the TV to the router using an ethernet cable. After setting up, check if the Internet is accessible;
- Network Switch: Modern routers often support dual-band frequencies: 2.4 GHz and 5 GHz. If the Onn Roku TV is using the 2.4 GHz band, consider switching to the 5 GHz for potentially better performance.
Conclusion
Utilizing a basic power cycle can swiftly resolve the issue of a black screen on your Onn Roku TV. It can be exasperating and disconcerting when your Roku TV screen remains completely blank.
In the event that none of the troubleshooting methods have proven effective, your last recourse is to reach out to Onn Roku’s support team and elucidate the predicament you’re facing. If your television is still within the warranty period, you can arrange for a convenient pickup and have your TV repaired at no cost.